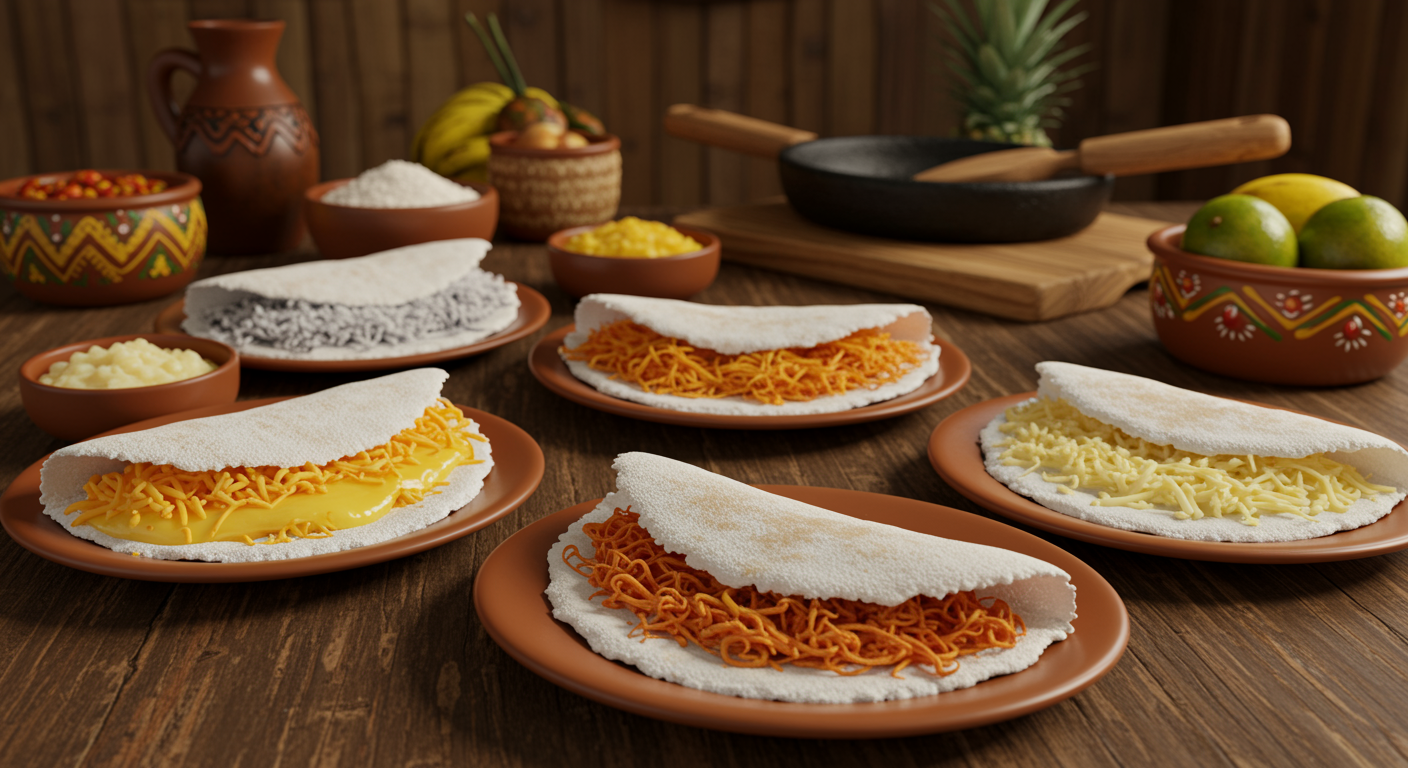
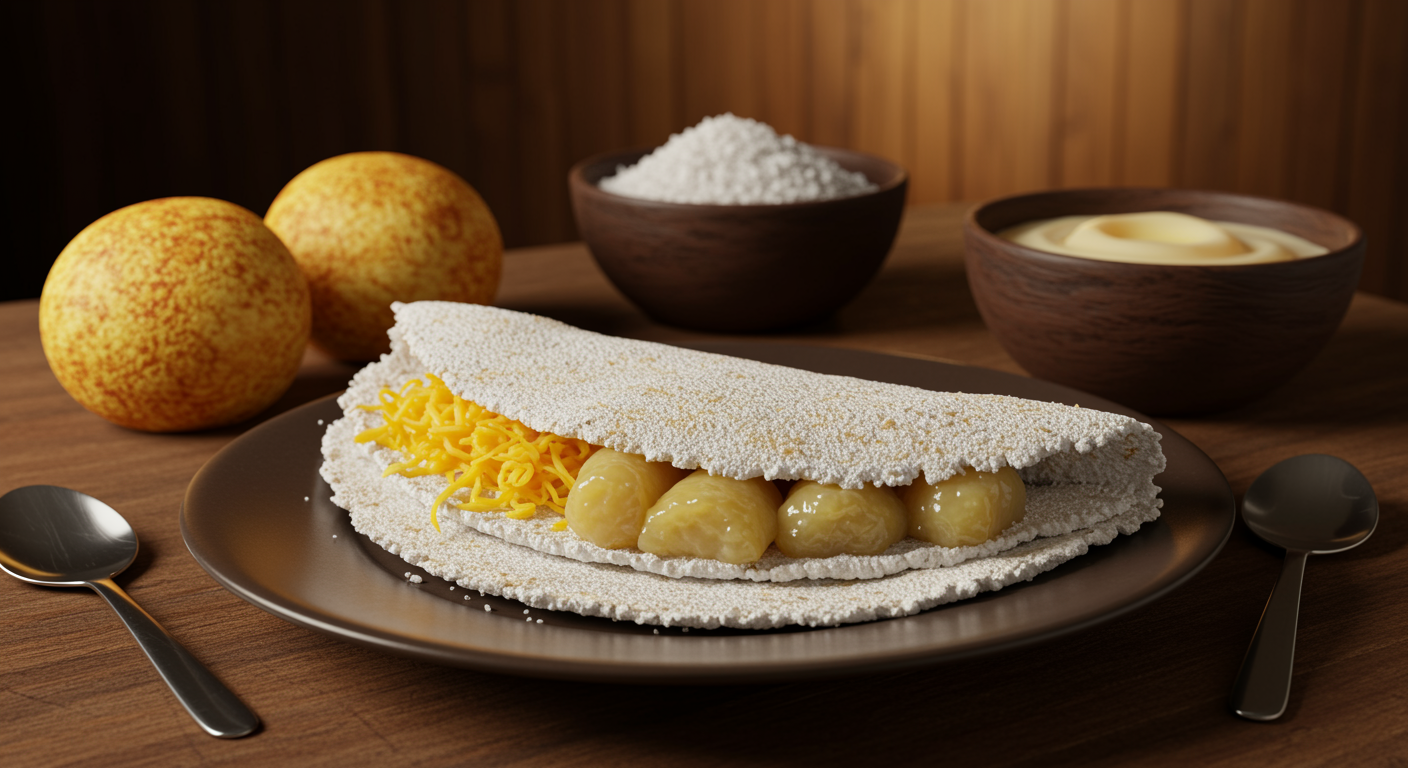
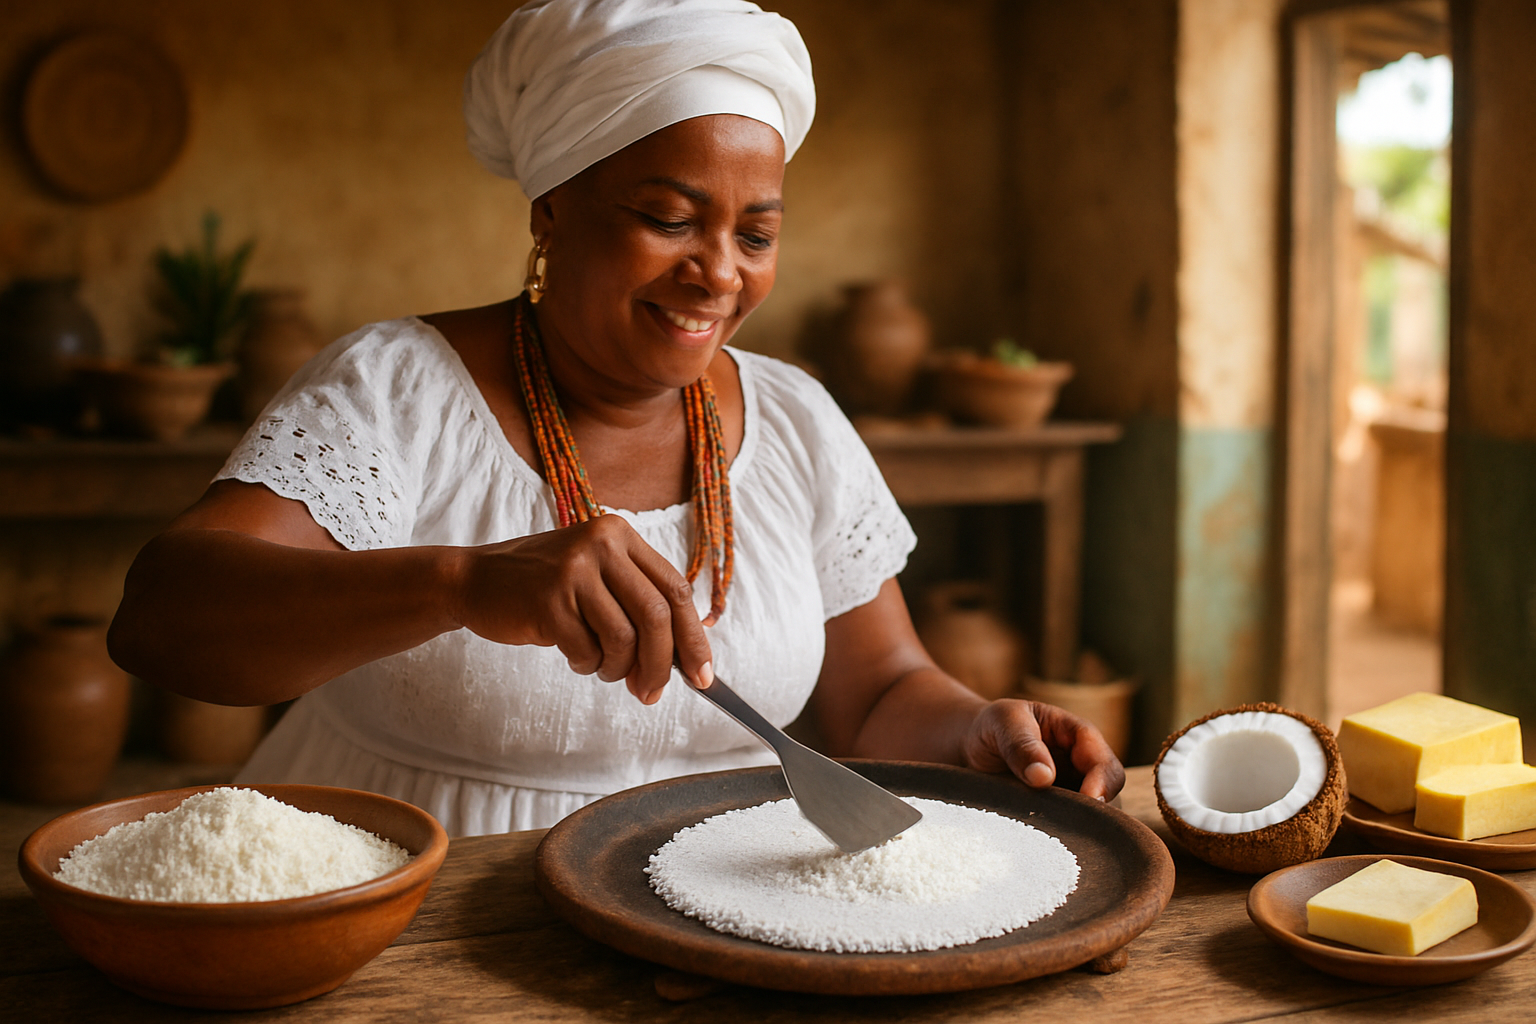
Tapioca, a cornerstone of Brazilian cuisine, is traditionally known for its quick preparation on a hot griddle, yielding a pliable, crepe-like disc perfect for a myriad of fillings. This classic method, revered for its simplicity and speed, has cemented tapioca’s place in daily meals and street food culture, particularly in regions like Bahia. However, the versatility of tapioca goma extends far beyond the conventional pan-fried approach. Over time, culinary ingenuity, driven by a desire for diverse textures, new flavors, and sometimes even healthier alternatives, has led to the emergence of innovative preparation methods. These methods, particularly baking and frying, unlock entirely new dimensions for tapioca, transforming its very character and expanding its culinary potential. They offer different textural experiences—from crispy and airy to rich and substantial—and open doors to a wider array of gastronomic creations that move beyond the familiar.
This comprehensive guide delves into these exciting alternative preparation methods for tapioca goma. We will meticulously explore the techniques, specific considerations, and distinct outcomes of baking and deep-frying tapioca, providing detailed instructions and practical tips for each. By understanding and experimenting with these innovative approaches, cooks can redefine their perception of tapioca, venturing into new culinary territories while still honoring the essence of this cherished Brazilian staple. This exploration aims to equip enthusiasts with the knowledge to craft tapioca in novel ways, enhancing their culinary repertoire and delighting palates with unexpected textures and tastes.
Understanding the Goma: Adapting for Different Methods
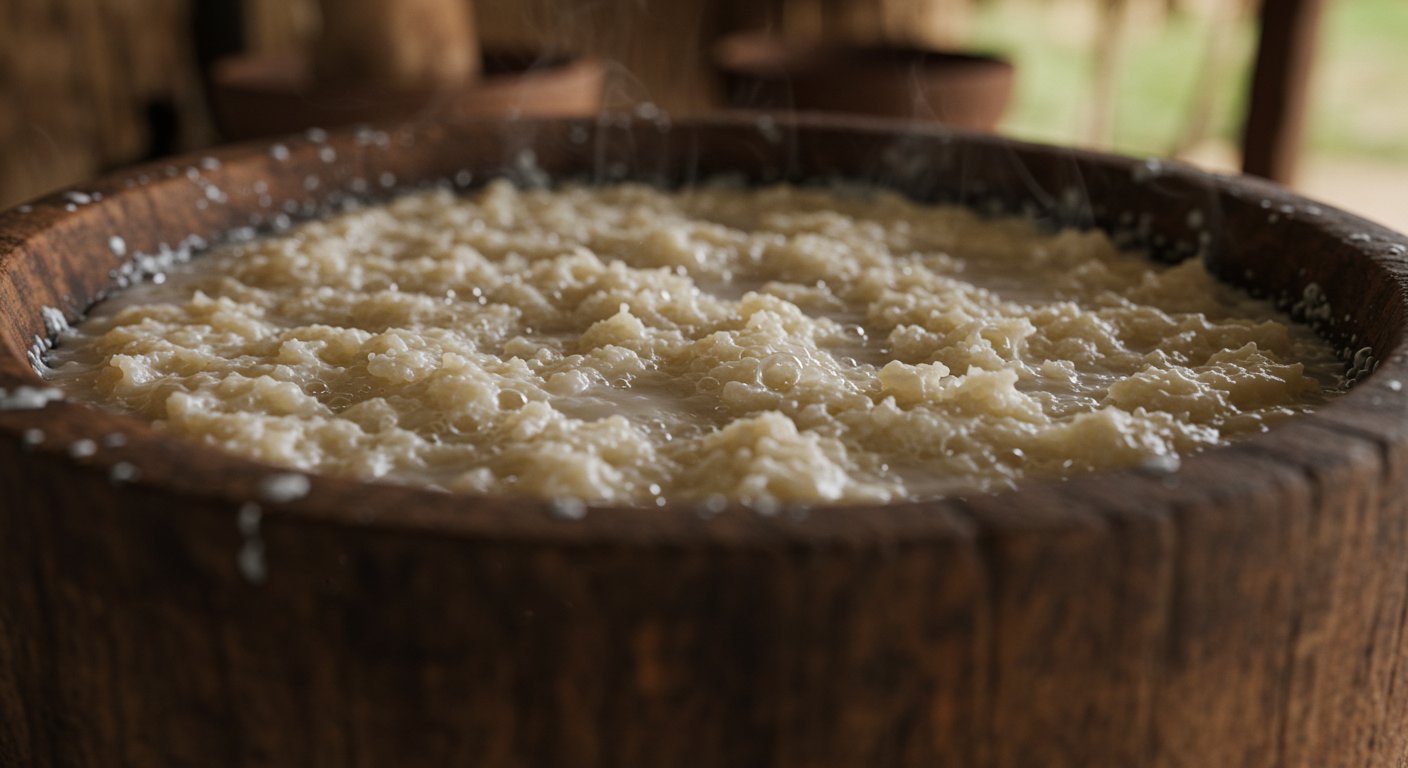
Before venturing into alternative cooking methods like baking or frying, it is crucial to understand how the inherent properties of tapioca goma interact with these different heat applications. The success of baked or fried tapioca hinges significantly on adjusting the goma’s consistency and preparation, ensuring it performs optimally under new conditions. Unlike the quick hydration for a griddle-cooked tapioca, these methods often require a more precise approach to moisture and structure.
The Standard Goma Consistency for Pan-Frying
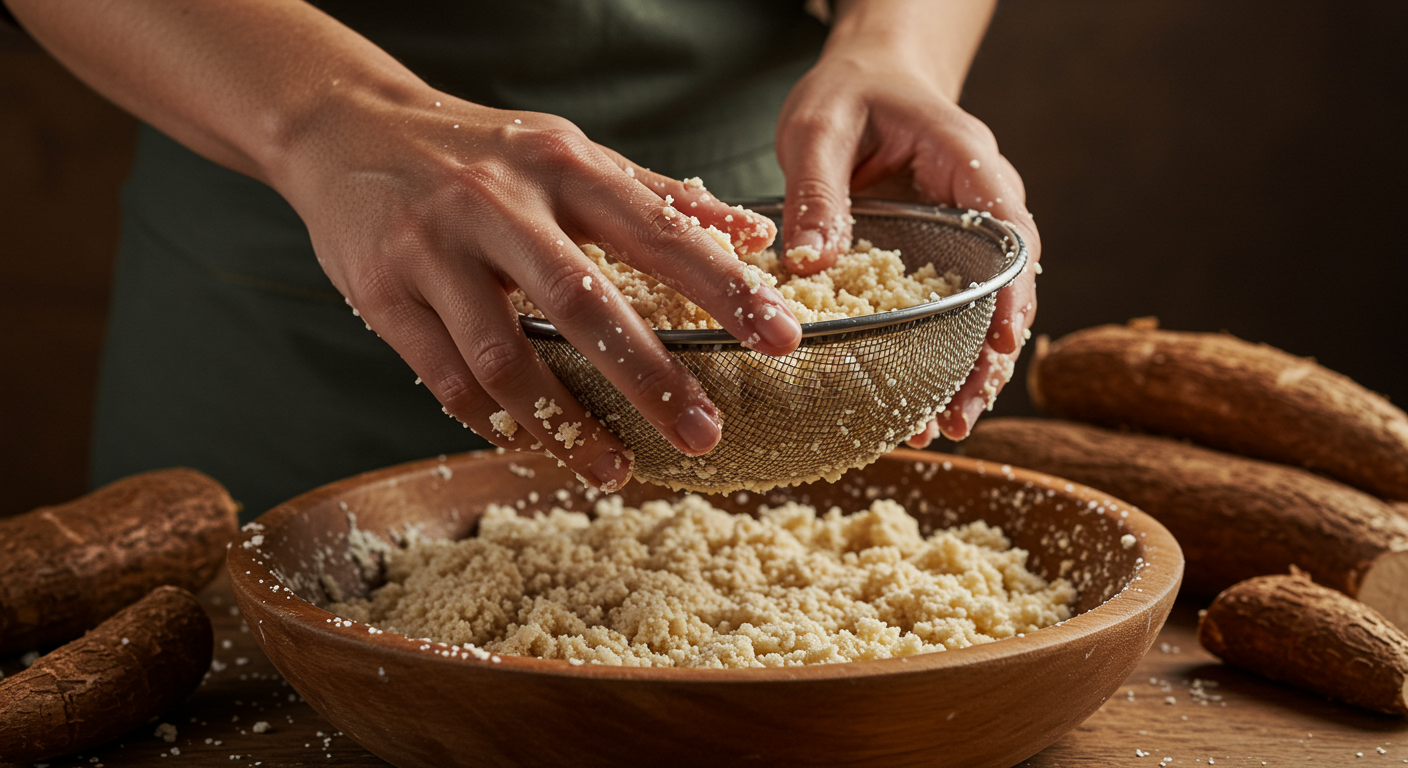
Traditionally, tapioca goma for pan-frying is prepared to a “wet sand” consistency. This means:
- Moist but not Sticky: Individual starch granules are hydrated but separate easily, feeling like damp sand.
- Forms a Loose Clump: When squeezed in the palm, it forms a soft, pliable clump that readily crumbles apart with a gentle touch.
- Even Hydration: The moisture is uniformly distributed throughout the goma, without dry pockets or overly wet spots.
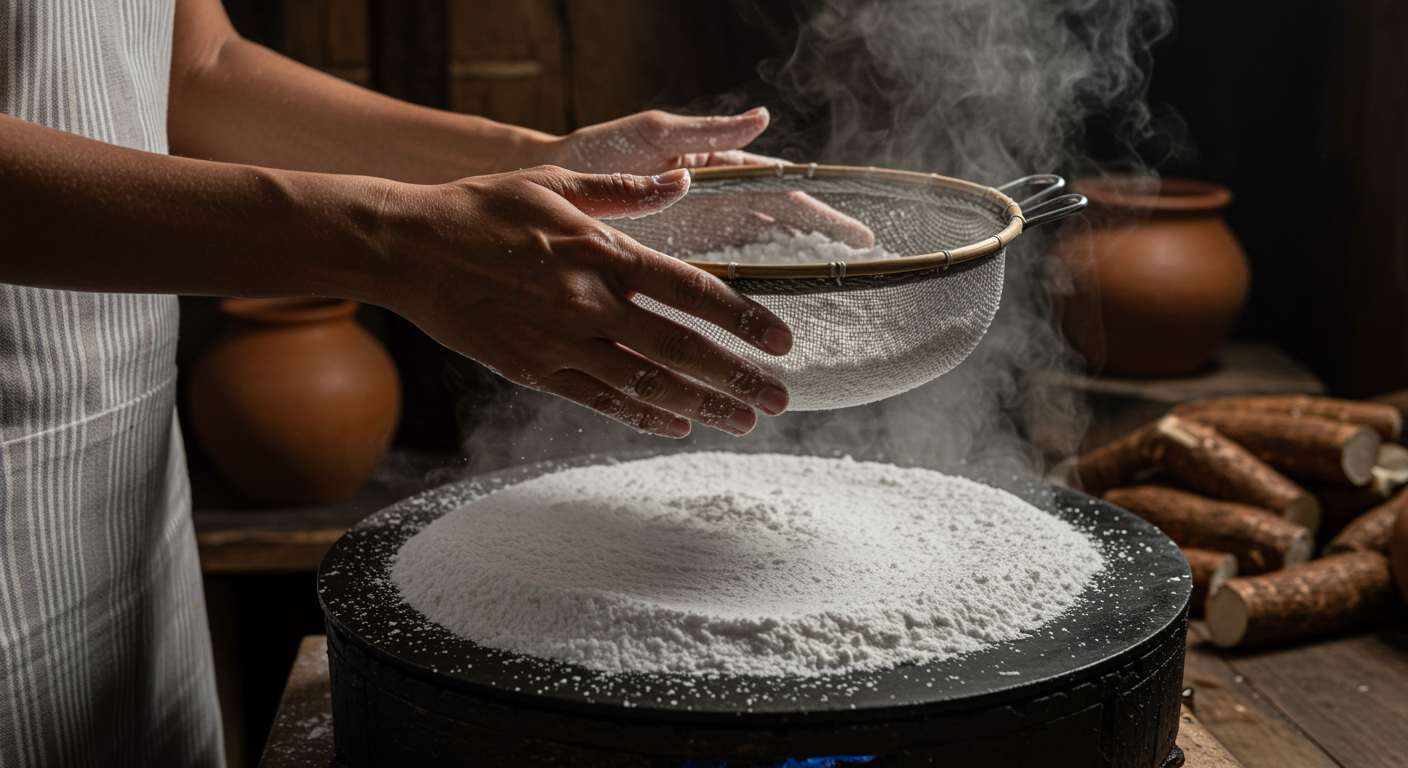
This consistency allows the goma to spread easily on a hot griddle, absorb heat quickly, and fuse into a cohesive, flexible disc. The rapid cooking process relies on this precise hydration to achieve the characteristic soft-chewy interior and lightly crisp exterior.
Adjustments for Baking: Achieving Structure and Crispness
Baking tapioca, whether as a flatbread, chips, or incorporating it into other dishes, requires a slightly different approach to goma preparation, primarily focused on developing internal structure and achieving desirable crispness without excess moisture.
- Slightly Drier Goma: For baked tapioca, especially if aiming for crispier textures, the goma might benefit from being marginally drier than for pan-frying. This reduces the time needed for moisture evaporation during baking, promoting a crispier outcome. It should still be hydrated enough to bind, but perhaps less “wet.” This means it forms a firmer clump when squeezed and breaks apart into slightly larger, still moist, granules.
- Binding Agents (Optional): In some baked applications, particularly for more substantial forms like tapioca bread or savory cakes, a small amount of an additional binding agent might be introduced. This could be a tiny bit of gluten-free flour (like rice flour or cassava flour, which is distinct from goma) or a small amount of egg. These agents help to create a more robust structure that withstands the longer baking times and provides a different crumb. However, for purer tapioca baked goods, the goma’s natural starch properties are often sufficient.
- Pre-hydration and Texturization: For certain baked goods, the goma might be mixed with other ingredients or liquids (like coconut milk) beforehand to create a batter or a more cohesive “dough” that can be molded or spread. This pre-hydration and texturization is crucial for shaping and ensuring even cooking in the oven. The interaction of tapioca starch with liquid and heat during baking often creates a unique, airy, and sometimes chewy internal structure, distinct from the pan-fried version.
Adjustments for Frying: Cohesion and Surface Area
Deep-frying tapioca aims for an entirely different outcome: a crispy, often puffed texture. This requires the goma to be cohesive enough to hold its shape in hot oil and to develop a large surface area for maximum crispness.
- Firmly Hydrated Goma or Dough: For frying, the goma often needs to be slightly firmer or even pressed into a more compact “dough” consistency. This can involve slightly more vigorous pressing during the hydration phase or incorporating a minimal amount of other starchy flours (like polvilho azedo for an airy, cheesy puff, common in pão de queijo preparation) to create a more robust structure that won’t disintegrate in the hot oil. The goal is to create discrete pieces or shapes that retain their form.
- Shapes and Forms: Unlike pan-frying, where goma is simply sprinkled, fried tapioca often involves shaping the tapioca into balls, sticks, or patties. This requires the goma to be moldable and cohesive.
- Temperature of Oil and Goma: The contrast between the cold goma (or slightly chilled dough) and very hot oil is crucial for achieving a puffed and crispy texture. The rapid expansion of moisture within the starch creates steam, which then puffs the tapioca.
By carefully considering these foundational differences in goma preparation and its interaction with heat, cooks can unlock the full potential of tapioca beyond its traditional uses, embarking on a journey of innovative culinary creation.
Baking Tapioca: Crafting Crisps, Breads, and Casseroles
Baking offers a fascinating avenue for tapioca, transforming it into a range of textures, from delicate crisps to hearty breads and comforting casseroles. This method highlights tapioca’s ability to act as a binder and texturizer, absorbing flavors and creating unique structures within the oven’s dry heat. Baking tapioca provides a wonderful alternative to pan-frying, often resulting in lighter, airier, or firmer preparations that expand its culinary versatility.
Baked Tapioca Crisps (Tapioca Chips)
Baked tapioca crisps are a healthier, often gluten-free, alternative to traditional potato chips, offering a unique texture and a satisfying crunch.
Ingredients:
- 1 cup hydrated tapioca goma (slightly drier consistency than for pan-frying)
- 1 tablespoon olive oil or melted coconut oil
- Salt to taste
- Optional seasonings: paprika, garlic powder, onion powder, dried herbs
Instructions:
- Preheat Oven: Preheat your oven to 180°C (350°F). Line a baking sheet with parchment paper.
- Prepare Goma: Ensure your goma has a slightly drier “wet sand” consistency. If it’s too wet, spread it out on a plate for 15-20 minutes to air dry slightly.
- Season: In a bowl, drizzle the oil over the goma. Add salt and any desired seasonings. Use your hands to thoroughly mix, ensuring each granule of goma is lightly coated. The oil helps with crispiness and flavor.
- Spread Thinly: Sprinkle the seasoned goma very thinly and evenly over the prepared baking sheet. It’s crucial for the layer to be as thin and uniform as possible to ensure even crisping. Avoid overlapping clumps.
- Bake: Bake for 15-25 minutes, or until golden brown and crispy. The exact time will depend on the thickness of the layer and your oven. Keep a close eye on them, as they can burn quickly. You may need to gently stir or flip them halfway through baking for even crisping.
- Cool and Serve: Remove from the oven and let cool completely on the baking sheet. They will crisp up further as they cool. Serve as a snack or accompaniment to dips.
Tapioca Bread (Pão de Tapioca)
Tapioca bread offers a chewy, airy interior with a crisp crust, often resembling a gluten-free cheese bread.
Ingredients:
- 1 cup hydrated tapioca goma
- 1/2 cup grated cheese (mozzarella, parmesan, or a local Bahian cheese)
- 1 egg, lightly beaten
- 1/4 cup milk or coconut milk
- 1 tablespoon olive oil
- Salt to taste
Instructions:
- Preheat Oven: Preheat oven to 200°C (400°F). Grease a small baking dish (e.g., 8×8 inch or individual muffin tins for smaller breads).
- Combine Ingredients: In a mixing bowl, combine the hydrated tapioca goma, grated cheese, beaten egg, milk, olive oil, and salt. Mix thoroughly with a spoon or your hands until a cohesive dough forms. The dough should be sticky but manageable.
- Shape and Bake: Press the dough evenly into the prepared baking dish or divide it into muffin tins. Bake for 25-35 minutes, or until golden brown on top and cooked through. The bread should be firm to the touch and have a slightly puffed appearance.
- Cool and Serve: Let cool slightly before slicing and serving. Enjoy warm.
Tapioca Casseroles (Escondidinho de Tapioca)
Tapioca can also be used as a gluten-free topping or base for savory casseroles, offering a light, cheesy crust.
Ingredients:
- 2 cups hydrated tapioca goma
- 1 cup grated cheese (e.g., mozzarella, cheddar)
- 1/2 cup milk or coconut milk
- 2 tablespoons butter, melted
- Salt and pepper to taste
- Filling: Cooked and shredded chicken, dried beef (carne seca), or vegetable medley (prepared separately).
Instructions:
- Prepare Filling: Have your desired savory filling already cooked and seasoned. Spread it evenly in the bottom of a greased oven-safe dish.
- Prepare Tapioca Topping: In a bowl, combine the hydrated tapioca goma, 1/2 cup of grated cheese, milk, melted butter, salt, and pepper. Mix well until everything is evenly combined and forms a soft, spreadable mixture.
- Assemble Casserole: Carefully spread the tapioca mixture over the prepared filling in the baking dish, creating an even layer.
- Add Cheese (Optional): Sprinkle the remaining 1/2 cup of grated cheese over the tapioca topping.
- Bake: Bake in a preheated oven at 180°C (350°F) for 20-30 minutes, or until the topping is golden brown and bubbly.
- Rest and Serve: Allow the casserole to rest for a few minutes before serving to allow it to set. Serve warm.
These baked applications demonstrate tapioca’s incredible versatility, offering a different textural experience and expanding its role in the kitchen beyond the breakfast griddle.
Frying Tapioca: Achieving Crispy Puffs and Golden Bites
Deep-frying tapioca goma is another exciting alternative, transforming the starch into incredibly crispy, often airy, and delightfully textured bites. This method harnesses the rapid expansion of moisture within the starch granules when exposed to high heat, resulting in a unique culinary experience. Fried tapioca is a fantastic snack, appetizer, or accompaniment, offering a satisfying crunch that differs from both pan-fried and baked versions.
Tapioca Puffs (Dadinhos de Tapioca)
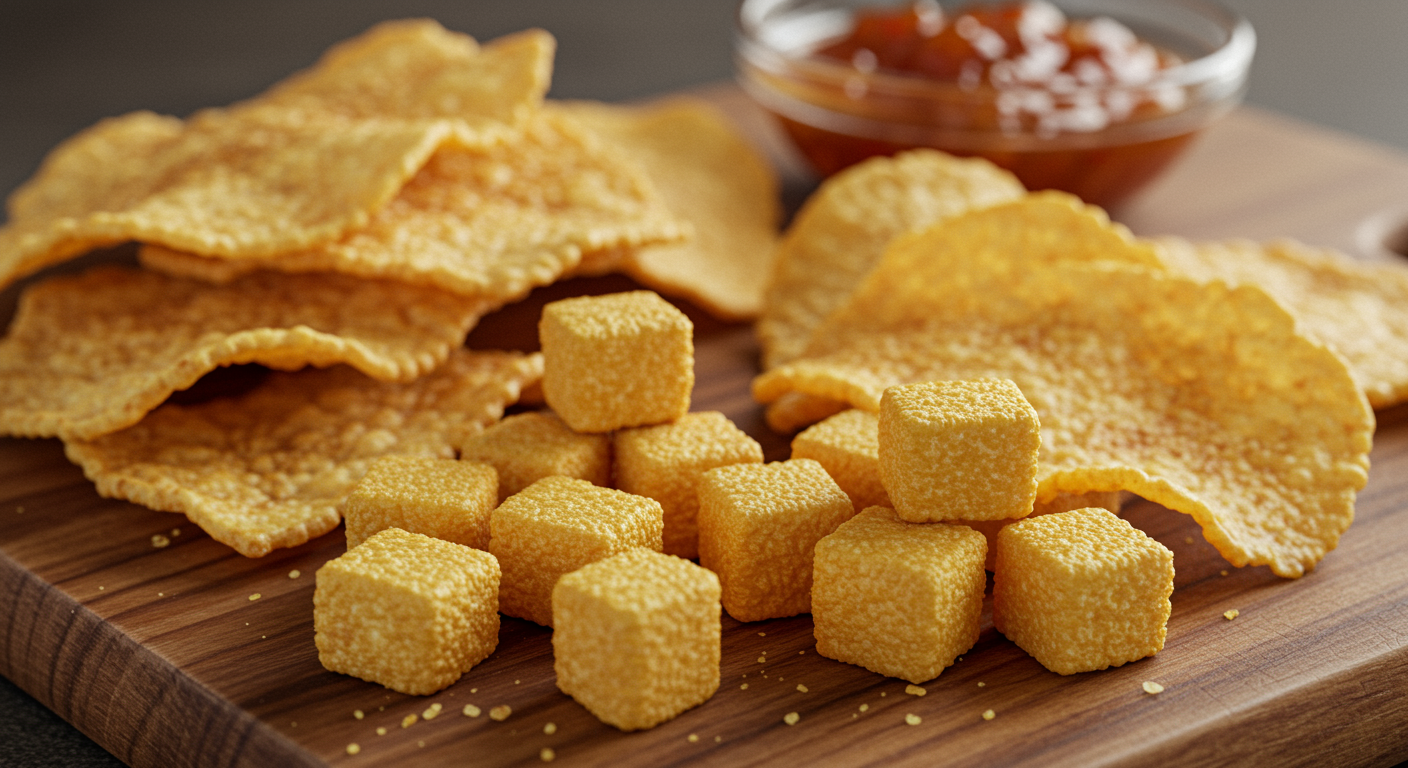
Perhaps the most famous fried tapioca creation, dadinhos de tapioca (tapioca dice) are beloved in Brazil for their crispy exterior and creamy, cheesy interior. While traditionally made with a specific tapioca flour (polvilho) and not pure goma, a similar effect can be achieved by forming the goma into solid cubes. Here, we adapt for goma directly, focusing on achieving a firm, fryable shape. For true dadinhos, using granular tapioca (similar to small sago pearls, but cassava-derived) with cheese and milk, then frying, is the classic method. For pure goma, the goal is solid fried pieces.
Ingredients (Adapted for Goma):
- 1 cup hydrated tapioca goma (slightly firmer consistency, ensure it can be pressed into a block)
- 1/4 cup grated cheese (Parmesan or a firm local cheese), finely grated
- 1/4 teaspoon salt
- Vegetable oil for deep-frying
Instructions:
- Prepare Goma Mixture: In a bowl, combine the firmer hydrated tapioca goma, finely grated cheese, and salt. Mix thoroughly with your hands, pressing firmly to create a cohesive, dense block of “dough.” The key is a consistency that holds its shape well.
- Form into Cubes: Press the goma mixture firmly into a small, shallow, square or rectangular dish (e.g., a small Tupperware container). Ensure it’s very compact. Cover and refrigerate for at least 1-2 hours, or until firm enough to cut. This chilling step is crucial for maintaining shape.
- Cut into Dice: Once firm, invert the block onto a cutting board and carefully cut it into small, uniform dice (e.g., 1×1 cm or 0.5×0.5 inch cubes).
- Heat Oil: Heat enough vegetable oil in a deep pot or fryer to submerge the tapioca dice. Heat to 170-180°C (340-350°F). It’s crucial to maintain this temperature.
- Deep-Fry: Carefully drop the tapioca dice into the hot oil in small batches to avoid overcrowding the pan and dropping the oil temperature. Fry for 3-5 minutes, or until golden brown and crispy on all sides. They should be firm and crunchy.
- Drain and Season: Remove the fried tapioca dice with a slotted spoon and place them on a plate lined with paper towels to drain excess oil. Season immediately with a pinch of salt if desired.
- Serve: Serve hot, often accompanied by a sweet chili sauce or a simple homemade pepper jelly.
Tapioca Sticks (Palitos de Tapioca Fritos)
Similar in principle to the dice, tapioca sticks offer a different shape, perfect for dipping.
Ingredients:
- 1 cup hydrated tapioca goma (firm consistency, as for dice)
- 1/4 cup finely grated Parmesan cheese
- Salt to taste
- Vegetable oil for deep-frying
Instructions:
- Prepare Goma Mixture: Combine goma, cheese, and salt, pressing firmly into a cohesive dough.
- Form into Sticks: Press the mixture into a block and chill as for dadinhos. Once firm, cut the block into thin strips (e.g., 1 cm x 5 cm or 0.4 x 2 inches).
- Heat Oil & Fry: Heat oil to 170-180°C (340-350°F). Fry the tapioca sticks in batches until golden and crispy.
- Drain and Serve: Drain on paper towels, season lightly, and serve hot with your favorite dips.
General Considerations for Frying Tapioca
- Oil Temperature: Maintaining the correct oil temperature is paramount. If the oil is too cold, the tapioca will absorb too much oil and become greasy. If too hot, it will burn on the outside before the interior is properly cooked. A thermometer is highly recommended.
- Batch Frying: Always fry in small batches. Overcrowding the pot will lower the oil temperature dramatically, leading to soggy, oily tapioca.
- Drain Thoroughly: Always drain fried tapioca on paper towels or a wire rack to remove excess oil.
- Serve Immediately: Fried tapioca is best enjoyed immediately after frying, while it is still hot and crispy. As it cools, it can lose its crispness.
These fried tapioca preparations showcase the starch’s incredible ability to transform, offering delightful crunch and flavor that expands the culinary horizons of this beloved ingredient.
Comparative Overview of Tapioca Preparation Methods
Understanding the distinct characteristics and requirements of each tapioca preparation method—traditional pan-frying, baking, and deep-frying—allows for informed culinary choices. Each technique offers a unique textural and flavor profile, making tapioca an incredibly versatile ingredient suitable for a wide array of dishes and occasions. A comparative analysis highlights the specific advantages and best uses for each method.
| Feature / Method | Traditional Pan-Frying | Baking | Deep-Frying |
|---|---|---|---|
| Goma Consistency | “Wet sand,” individual granules, easily crumbles. | Slightly drier than pan-fry, more cohesive, moldable. | Firmer, denser, or mixed with binders, cut into shapes. |
| Preparation Process | Sprinkle dry goma onto hot griddle, spreads easily. | Mix with ingredients, press/mold into shapes, bake. | Form into shapes, chill (optional), deep-fry in oil. |
| Cooking Time | Very fast (1-2 minutes per side). | Moderate (15-35 minutes, depending on dish). | Fast (3-5 minutes per batch). |
| Heat Source | Direct dry heat on a griddle/pan. | Convective dry heat in an oven. | Submersion in hot oil. |
| Typical Texture | Soft, pliable, chewy interior; lightly crisp exterior. | Crispy (chips), airy/chewy (breads), soft (casseroles). | Very crispy, often puffed or crunchy exterior. |
| Key Advantage | Speed, simplicity, classic pliable “crepe” texture. | Versatility for complex dishes, healthier crisps. | Intense crispness, rich flavor, satisfying crunch. |
| Best Uses | Breakfasts, quick snacks, wraps for diverse fillings. | Gluten-free breads, savory toppings, healthy snacks. | Appetizers, party snacks, side dishes. |
| Oil Usage | Minimal (greasing pan). | Minimal (coating for crisps, or for greasing pan). | Significant (for submersion). |
| Skill Level | Beginner-friendly. | Moderate (mixing/shaping). | Moderate (oil temperature control, batch frying). |
| Cleanup | Easy (non-stick pan). | Moderate (baking dish, mixing bowls). | More involved (oil disposal, fryer cleaning). |
This comparative table provides a clear framework for selecting the most appropriate tapioca preparation method based on desired texture, culinary application, and available equipment. Each method unlocks a different facet of tapioca’s potential, showcasing its remarkable adaptability in the kitchen.
Innovative Flavors and Presentation Ideas
Beyond the core preparation techniques, the true artistry of tapioca, whether baked or fried, lies in the endless possibilities for flavor innovation and creative presentation. Moving beyond traditional fillings for pan-fried tapioca, these alternative methods invite experimentation with seasonings, accompaniments, and serving styles, transforming tapioca into a gourmet experience. This creative exploration ensures that tapioca remains a dynamic and engaging ingredient in modern cuisine.
Elevating Baked Tapioca: Seasonings and Pairings
Baked tapioca’s drier, more structured nature makes it an excellent canvas for robust seasonings and adventurous pairings.
- Herb-Infused Crisps: Before baking, mix finely chopped fresh herbs like rosemary, thyme, or oregano into the goma for the crisps. A sprinkle of sea salt and black pepper can enhance these flavors.
- Spiced Tapioca Bread: Incorporate exotic spices like smoked paprika, cumin, or a touch of chili powder into tapioca bread dough for a savory kick. This bread can be served alongside hearty stews or used as a base for open-faced sandwiches.
- Sweet Baked Options: For a sweet variation, bake tapioca with cinnamon, grated orange zest, and a touch of brown sugar. This can be served with fresh fruit, a dollop of yogurt, or a drizzle of honey for a unique dessert or breakfast item.
- Casserole Enhancements: For tapioca casseroles, consider adding layers of caramelized onions, roasted vegetables, or a rich tomato sauce beneath the tapioca topping. A sprinkle of fresh parsley or cilantro after baking adds a vibrant finish.
- Dips and Spreads: Baked tapioca crisps pair wonderfully with homemade dips like guacamole, hummus, or a spicy mango salsa. Tapioca bread can be served with artisanal pestos or olive tapenades.
Creative Deep-Fried Tapioca Servings
Deep-fried tapioca, with its irresistible crispness, lends itself beautifully to creative serving suggestions that emphasize its snack appeal.
- Gourmet Dadinhos: Elevate classic dadinhos by incorporating finely chopped sun-dried tomatoes, black olives, or even a hint of truffle oil into the goma mixture before frying. Serve with a sophisticated guava jam or a homemade artisanal aioli.
- Spice-Dusted Sticks: After frying, dust tapioca sticks with a blend of za’atar, peri-peri spice, or a homemade curry powder for an international flavor twist.
- Sweet Fried Bites: Create small, sweet tapioca fritters by mixing a pinch of sugar and cinnamon into the goma before frying. Serve these warm, dusted with powdered sugar and a side of dulce de leche or chocolate dipping sauce.
- Taco/Tostada Shells: Thinly pressed and shallow-fried tapioca goma can be molded into small taco shells or flat tostada bases, offering a unique gluten-free option for appetizers.
- Presentation Matters: When serving fried tapioca, use attractive small bowls or rustic platters. A garnish of fresh herbs (like microgreens or cilantro) or a sprinkle of finely chopped bell peppers can add visual appeal and freshness. Offer a variety of colorful dipping sauces to enhance the experience.
By combining these innovative preparation methods with creative flavor combinations and thoughtful presentation, tapioca can transcend its traditional role, becoming a dynamic and exciting component of modern culinary exploration. These approaches encourage cooks to experiment, adapt, and personalize, making each tapioca dish a unique expression of flavor and texture.
Beyond the Plate: Practical Tips for Success
Venturing into baked and fried tapioca opens up a new world of culinary possibilities, but like any new technique, it comes with its own set of practical considerations. Beyond mastering the recipes, a few key tips can ensure consistent success, minimize waste, and enhance your overall experience in the kitchen. These insights help to refine your process, transforming good results into great ones.
Optimizing Goma for Different Textures
The subtle adjustment of goma consistency is often the most critical factor for success in non-traditional tapioca preparations.
- For Crisps: If your goma feels too wet for baking thin crisps, spread it thinly on a clean, dry surface for 20-30 minutes before seasoning and baking. This allows excess moisture to evaporate, promoting a crispier outcome.
- For Breads/Puffs: If your goma is too dry to form a cohesive dough for breads or fried puffs, gradually add tiny amounts of cold water (a teaspoon at a time) and mix thoroughly with your hands until it achieves the desired moldable consistency. Remember to resieve if necessary to ensure uniformity.
- Consistency Check: Always perform a small “test batch” if you’re unsure about the goma’s consistency for a new recipe. Cook a tiny amount to see how it behaves before committing to the full batch. This saves time and ingredients.
Temperature Control: The Unsung Hero
Precise temperature control, whether in the oven or with frying oil, is paramount for achieving the desired texture and avoiding common pitfalls.
- Oven Calibration: If your oven tends to run hot or cold, consider using an oven thermometer to ensure accurate temperatures. Uneven oven heat can lead to inconsistent baking.
- Frying Oil Thermometer: For deep-frying, a candy/deep-fry thermometer is an invaluable tool. It allows you to maintain the oil at the ideal temperature range (e.g., 170-180°C or 340-350°F). Fluctuations in oil temperature are the primary cause of greasy or burnt fried foods. If the oil smokes, it’s too hot; if tapioca pieces sink and stay at the bottom without bubbling, it’s too cold.
- Preheating is Key: Always allow ovens and oil to fully preheat to the target temperature before adding tapioca. Patience at this stage prevents uneven cooking.
Batch Management and Efficiency
- Work in Batches: When frying or baking crisps, work in small to moderate batches. Overcrowding a baking sheet or frying pot can lower temperatures, lead to steaming instead of crisping, and result in inferior textures.
- Preparation in Advance: For recipes like dadinhos or tapioca bread, preparing the goma mixture and shaping it in advance allows for efficient cooking when needed. Chilled mixtures often hold their shape better during frying or baking.
- Storage of Prepared Items: Baked tapioca crisps and fried items are best consumed fresh. If storing, keep them in an airtight container at room temperature for no more than 1-2 days. Reheat briefly in a dry oven or air fryer to regain some crispness. Tapioca bread can be stored similarly and reheated.
By integrating these practical tips into your culinary routine, you can confidently explore the exciting world of baked and fried tapioca, consistently producing delicious and innovative dishes that showcase the full potential of this incredible ingredient. This meticulous approach to preparation ensures that the unique qualities of tapioca are fully expressed, delighting all who taste them.
A Comprehensive Checklist for Baked and Fried Tapioca
Successfully preparing baked and fried tapioca requires attention to detail at every step, from adapting the goma’s consistency to managing cooking temperatures. This checklist provides a structured guide to ensure optimal results, leading to deliciously crisp, airy, or hearty tapioca creations.
| Aspect / Method | Baked Tapioca | Fried Tapioca | Key Considerations for Both |
|---|---|---|---|
| Goma Consistency | Slightly drier than pan-fry, cohesive when pressed. Forms a soft clump. | Firmer, dense, cohesive. Can be molded into shapes. May include binders like cheese for structure. | Adjust moisture carefully. Too wet = soggy; too dry = crumbly. Test a small batch if unsure. |
| Preparation for Method | Mix goma with oil/seasonings (crisps). Mix with egg/milk/cheese (breads/casseroles). | Mix goma with cheese/salt, press into block, chill for firmness (dadinhos/sticks). | Ensure thorough mixing for even distribution of ingredients. Chilling is crucial for fried items to hold shape. |
| Shaping | Spread thinly and evenly (crisps). Press into baking dish/muffin tins (breads/casseroles). | Cut into uniform dice/sticks (dadinhos/palitos). | Uniformity in shape/thickness ensures even cooking. Avoid overcrowding. |
| Oven / Oil Temperature | Oven: Preheat to specified temperature (e.g., 180-200°C / 350-400°F). | Oil: Heat to 170-180°C (340-350°F) for deep-frying. | Crucial: Use an oven thermometer / deep-fry thermometer for accuracy. Proper temperature prevents burning, sogginess, or greasiness. Always preheat fully. |
| Cooking Process | Bake until golden and crispy (crisps), or golden and cooked through (breads/casseroles). Stir/flip crisps for evenness. | Deep-fry in small batches until golden brown and crispy. Flip as needed. | Avoid overcrowding. Monitor closely to prevent burning. Timing is key to texture. |
| Drainage / Cooling | Cool crisps completely on baking sheet/rack. Let breads/casseroles rest briefly before serving. | Drain immediately on paper towels/wire rack after frying. | Proper drainage removes excess oil. Cooling allows baked crisps to firm up. |
| Seasoning / Flavoring | Season goma before baking. Incorporate herbs, spices, cheese into mixes. | Season goma mixture. Lightly salt immediately after frying. | Experiment with flavor additions to enhance the final product. |
| Serving & Storage | Serve baked items warm or at room temperature. Store crisps/breads in airtight containers for 1-2 days. Reheat for crispness. | Best served hot and fresh. Can be stored briefly (1 day) in airtight container; reheat in oven/air fryer to regain crispness. | Freshness is best. Reheating methods can restore some texture. |
| Hygiene | Ensure all tools and surfaces are clean. | Ensure all tools and surfaces are clean. Handle hot oil safely. | Essential for food safety. |
This comprehensive checklist provides a robust framework for successfully navigating the preparation of baked and fried tapioca. By adhering to these guidelines, you can confidently explore these innovative methods, consistently producing delightful tapioca dishes with unique textures and flavors that are a testament to culinary creativity.
The journey through baked and fried tapioca preparation methods reveals the extraordinary versatility and adaptability of this cherished Brazilian staple. Moving beyond the familiar griddle-cooked form, baking transforms tapioca into delicate crisps, hearty breads, and comforting casserole toppings, offering textures that range from airy to substantial. Deep-frying, on the other hand, unlocks an entirely different dimension, yielding irresistibly crispy puffs and golden bites, showcasing tapioca’s ability to achieve a satisfying crunch when exposed to high heat. Both methods demand a nuanced understanding of goma consistency and precise temperature control, yet they reward the adventurous cook with novel culinary experiences.
By embracing these innovative approaches, cooks can expand their repertoire, redefining tapioca’s role in the kitchen from a simple breakfast item to a sophisticated component of appetizers, snacks, and main courses. The ability to create new textures and flavors not only enriches the dining experience but also celebrates the enduring spirit of Brazilian gastronomic ingenuity. Whether you prefer the wholesome crispness of a baked chip or the delightful crunch of a fried puff, these alternative methods offer exciting pathways to explore the full potential of tapioca, continually delighting palates and demonstrating the boundless possibilities of this remarkable root starch.

